Cool projects
Retrofit
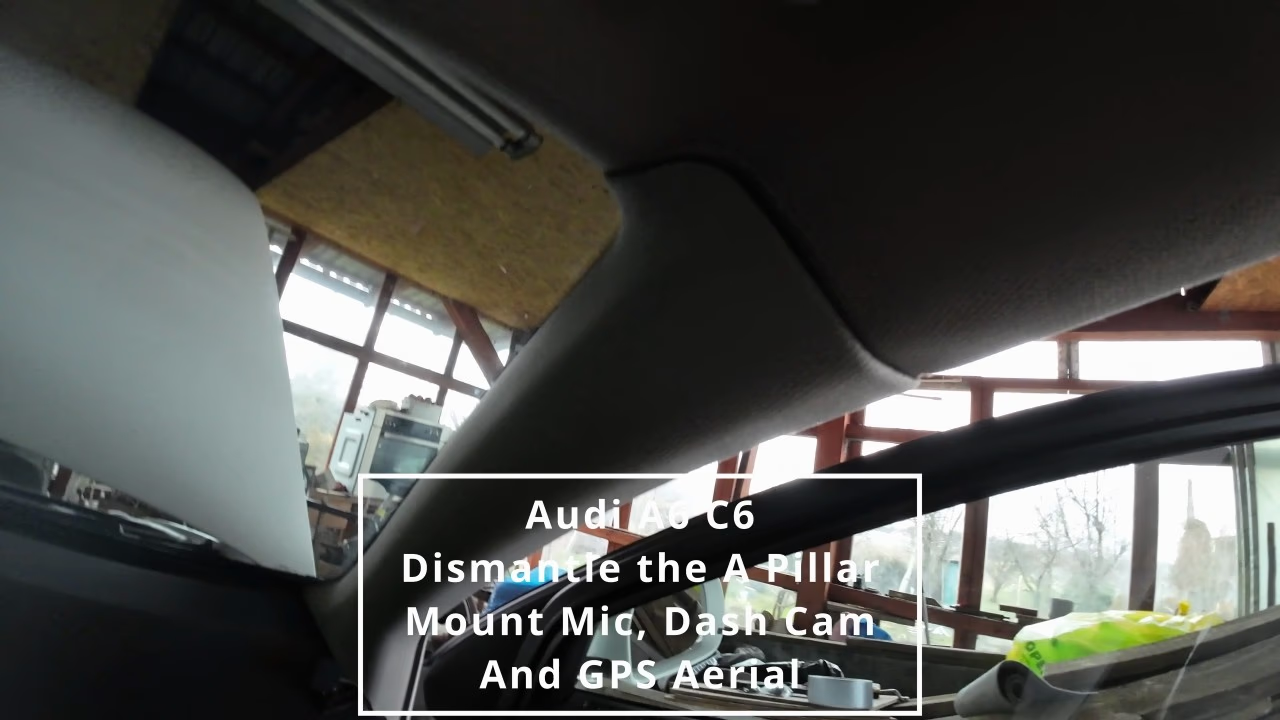
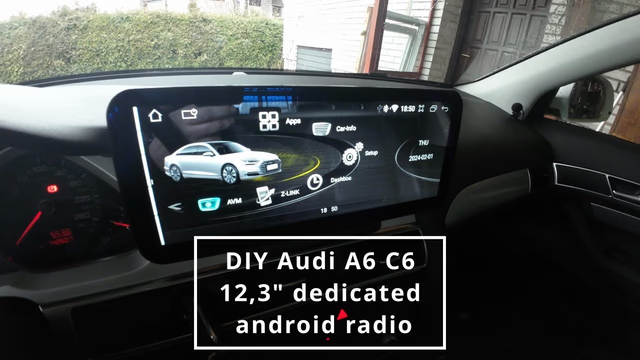
DIY Audi A6 C6 A-Pillar Removal & Dash Cam Install
Hide messy wires and keep your interior clean with this DIY Audi A6 C6 A-pillar removal and dash cam installation guide. This tutorial will walk you through cleanly routing wires for a GPS antenna, dash cam, and microphone by removing the A-pillar and overhead light panel. A must-do mod for anyone upgrading the infotainment system in their Audi A6 C6.
🧰 Required Tools for Audi A6 A-Pillar Removal and GPS Install:
- Long pliers (for squeezing A-pillar metal brackets)
- Phillips screwdriver
- Duct tape
- Upholstery trim removal tool
🛠️ Steps: A-Pillar Removal & Dash Cam Installation on Audi A6 C6:
- Remove the passenger side fuse panel cover.
- Detach the A-pillar cover: Grip the upper cover and pull firmly. The top bracket should move slightly. Use pliers to squeeze the first two metal clips and slide them out. The third clip detaches by pulling sideways.
- Gently wiggle and lift the A-pillar cover upward to fully detach.
- Remove the roof light console: First pull off the middle lens panel. Then remove the two screws with a Phillips screwdriver.
- Install the microphone and dash cam. Route wires cleanly behind the panels.
- Reinstall the light console and check that all interior lights are working.
- Mount the GPS antenna on the A-pillar. Use duct tape for extra hold if necessary.
- Route all cables along the A-pillar and secure with duct tape to prevent rattling.
- Reinstall the A-pillar cover: Start from the bottom, align clips (check alignment from outside through windshield), and press each section firmly into place.
- Replace the fuse panel cover.
✅ This Audi A6 C6 dash cam and GPS wiring guide ensures your mods look clean and factory-installed. No more messy wires hanging around your windshield!


